
l-shaped desk assembly instructions pdf
An L-shaped desk offers flexibility and space-saving design, ideal for small offices or home workspaces. Its ergonomic layout provides a dedicated area for computers and task-specific activities, enhancing productivity while minimizing clutter. Customizable options, such as shelves and drawers, allow users to tailor the desk to their specific needs, making it a versatile choice for modern work environments.
What is an L-Shaped Desk?
An L-shaped desk is a versatile and space-efficient furniture piece designed to maximize workspace in corners or small areas. It typically consists of a main desktop and a return, forming a right angle. This design allows for better organization, with dedicated areas for computers, paperwork, and other office essentials. L-shaped desks are ideal for home offices, study rooms, or professional settings, offering a practical solution for multitasking and productivity. Their ergonomic layout helps reduce clutter and improves workflow, making them a popular choice for modern workspaces. The desk’s structure ensures optimal use of available space while providing a comfortable and functional work environment.
Benefits of an L-Shaped Desk

An L-shaped desk provides numerous benefits, including enhanced space utilization and improved workflow. Its design allows for efficient multitasking, with separate areas for a computer, paperwork, and additional accessories. This layout minimizes clutter and keeps essential items within easy reach, boosting productivity. The desk’s ergonomic structure promotes comfort during long work hours, reducing strain and fatigue. Additionally, L-shaped desks are highly customizable, offering options for shelves, drawers, and cable management systems. They are ideal for small offices, home workspaces, or shared areas, making them a practical and stylish choice for various settings. Their versatility and functionality make them a valuable investment for anyone seeking a well-organized and efficient workspace.
Why Choose an L-Shaped Desk?
Choosing an L-shaped desk is a smart decision for anyone looking to optimize their workspace. Its unique design maximizes corner spaces, making it perfect for small rooms or open layouts. The desk’s versatility allows it to serve multiple purposes, from a dedicated workstation to a shared area for collaboration. With options for customization, such as shelves and drawers, users can tailor the desk to meet their specific needs. The ergonomic benefits and aesthetic appeal further enhance its value, creating a comfortable and visually appealing environment. Whether for home, office, or a combination of both, an L-shaped desk offers practicality, style, and functionality, making it a superior choice for modern workspaces.

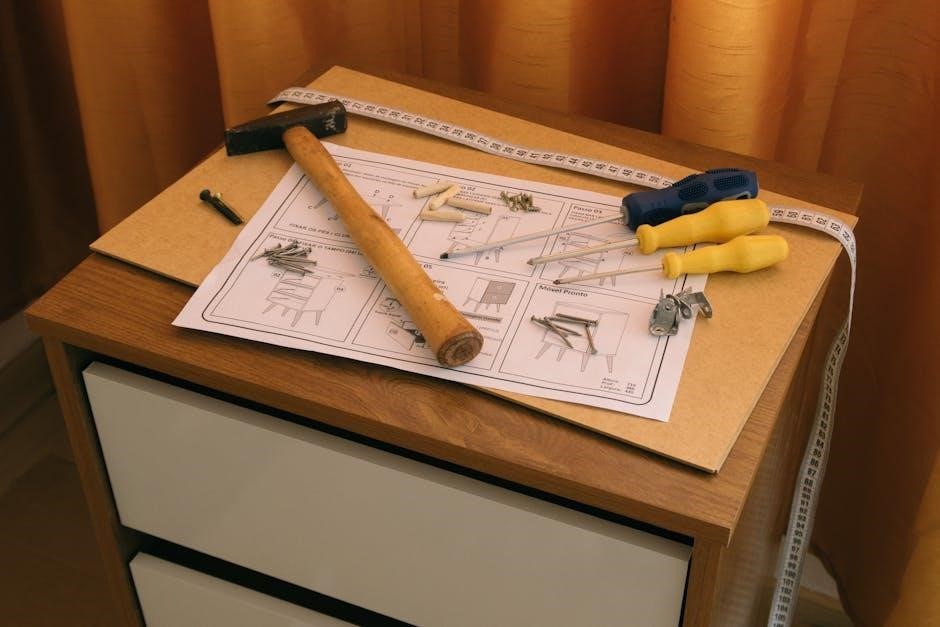
Understanding the Assembly Instructions
Understanding the assembly instructions is crucial for a smooth setup. Read the manual carefully, follow step-by-step guidance, and ensure all parts are accounted for before starting.
Importance of Reading the Manual
Reading the assembly manual is essential for a successful and stress-free setup. It provides clear, step-by-step instructions to ensure all parts are correctly identified and assembled. Skipping this step can lead to errors, such as misaligned fittings or missing components, which may result in a unstable or incomplete desk. The manual also highlights safety precautions and tips to avoid damaging the product or causing injury. By following the guide, you can assemble the desk efficiently and avoid costly mistakes. Always inspect the packaging for completeness and refer to the manual for specific tools and techniques required. This ensures a professional-quality finish and extends the lifespan of your L-shaped desk.
Key Components of the Assembly Manual
The assembly manual for an L-shaped desk typically includes a detailed parts list, ensuring all components are accounted for before starting. It features exploded diagrams that visually guide users through each step, making complex instructions easier to understand. The manual also outlines the tools required, such as screwdrivers and Allen wrenches, and provides safety tips to prevent accidents. Step-by-step instructions are broken down into manageable sections, from assembling the frame to attaching the desktop and shelves. Troubleshooting tips are often included to address common issues like misalignment or wobbling. By organizing information clearly, the manual helps users navigate the assembly process confidently and efficiently, ensuring a sturdy and functional final product.
Pre-Assembly Checklist
Before starting the assembly of your L-shaped desk, ensure all components are included and undamaged by cross-referencing with the parts list. Carefully inspect the packaging for any signs of damage or tampering. Read the entire assembly manual to understand the process and identify any tools or additional materials needed. Gather all required tools, such as screwdrivers and Allen wrenches, and place them within easy reach. Clear a large, flat workspace to accommodate the desk’s dimensions, ensuring it is free from clutter or obstacles. Double-check that all hardware, like screws and bolts, is organized and accounted for. Finally, review safety guidelines to avoid accidents during assembly, such as wearing protective gloves or ensuring proper lifting techniques. Being prepared ensures a smooth and efficient assembly process.
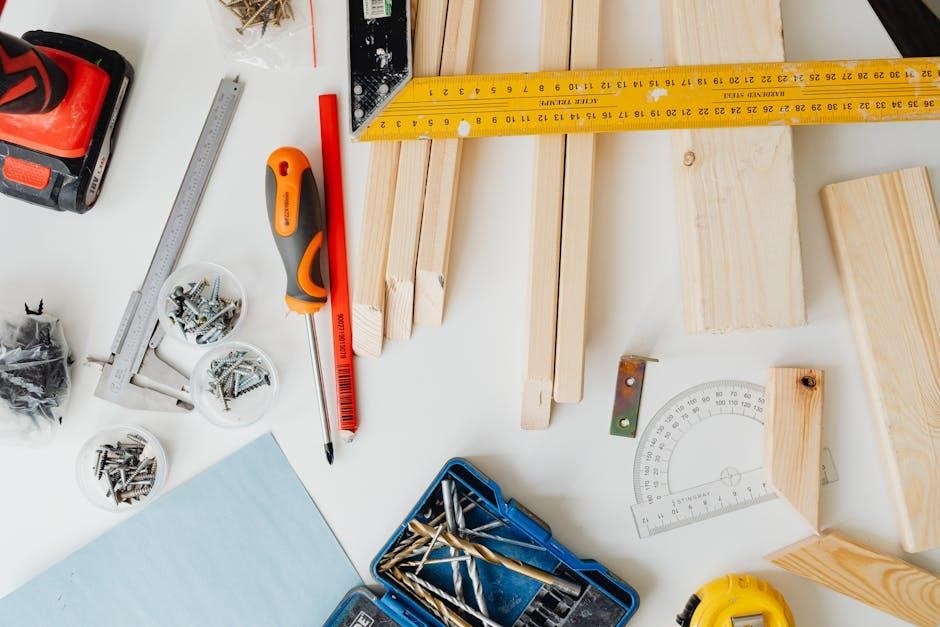
Parts List and Tools Required
The package includes a frame, desktop, shelves, drawers, and hardware like screws and bolts. Tools needed are screwdrivers, Allen wrenches, and potentially a hammer for tapping parts into place.
Components Included in the Package
Your L-shaped desk package typically includes a sturdy metal frame, a durable desktop surface, shelves for additional storage, and drawers for organization. Hardware such as screws, bolts, and Allen wrenches are also provided to ensure smooth assembly. Depending on the model, you may find cable management systems or pre-drilled holes for easy installation. Some desks come with optional accessories like keyboard trays or monitor stands. Always verify the contents against the parts list in the manual to ensure nothing is missing. Properly inspect each component for damage before starting assembly. This comprehensive set of parts ensures you have everything needed to build a functional and stylish workspace tailored to your needs.
Tools You Will Need for Assembly
To assemble your L-shaped desk, you will need a few essential tools. Start with an Allen wrench, typically provided in the package, for securing bolts and screws. A screwdriver, both flathead and Phillips, will be useful for various fasteners. Pliers may assist with tight connections, while a rubber mallet can help tap parts into place gently. A measuring tape ensures accurate alignment, and clamps can hold components steady during assembly. Safety glasses and gloves are recommended to protect yourself while working with tools and hardware. Having these tools ready will streamline the assembly process and help you complete it efficiently and safely.

Safety Precautions
Always wear safety glasses and gloves to protect yourself during assembly. Ensure the workspace is clear and well-lit. Keep children and pets away. Follow the manual carefully to avoid injuries or damage.
General Safety Guidelines
Always read the entire manual before starting assembly to understand safety protocols. Wear safety glasses and gloves to protect yourself from potential hazards. Ensure the workspace is clear, well-lit, and free from obstacles. Avoid wearing loose clothing that could get caught in tools or parts. Keep children and pets away from the assembly area. Never use power tools near water or in damp conditions. Avoid over-tightening screws, as this may damage the product or cause injury. If unsure about any step, consult the manual or seek assistance. Regularly inspect tools and parts for damage before use. Maintain a stable and balanced workspace to prevent accidents. Follow all instructions carefully to ensure a safe and successful assembly process.

Preparing a Safe Workspace
Before starting assembly, ensure your workspace is safe and organized. Clear the area of any clutter, tripping hazards, or fragile items. Cover the floor or work surface with a protective cloth or mat to prevent damage and scratches. Ensure the space is well-ventilated and free from dust. Position the desk components in a way that allows easy access and movement. Verify that all parts are undamaged and accounted for before beginning. Use a bright light source to illuminate the workspace, reducing eye strain. Keep tools and hardware within reach to avoid unnecessary stretching or bending. Finally, double-check that the floor is level to ensure stability during assembly and use.
Step-by-Step Assembly Process
Begin by aligning the frame components and securing them with screws. Follow the manual to attach the desktop, shelves, and drawers in sequence. Tighten all hardware firmly.
Assembling the Frame
Start by unboxing and organizing all frame components. Attach the legs to the main and return desktop sections using the provided screws. Ensure alignment is precise to maintain stability. Next, connect the crossbars to the legs for added support. Carefully align the main desktop with the return section, securing them together with the supplied fittings. Tighten all screws firmly but avoid overtightening. Use a rubber mallet to tap parts into place if necessary. Double-check the frame’s alignment and stability before proceeding to attach the desktop. Ensure all bolts are snug and the structure is level. This step is crucial for the overall stability of the desk.
Attaching the Desktop
Position the desktop onto the frame, ensuring it aligns with the pre-drilled holes. Secure it using the provided screws, tightening them evenly. Avoid overtightening to prevent damage. Use a rubber mallet to gently tap the desktop into place if necessary. Double-check the alignment and stability before moving on. Ensure all screws are snug and the surface is level. This step ensures a sturdy base for your workspace.
Installing the Shelves
Place the shelf boards onto the designated brackets, ensuring they align with the pre-drilled holes. Secure each shelf using the provided screws, tightening them firmly. Check that the shelves are level and evenly spaced. If adjustable, position the shelves at the desired height to maximize storage. Ensure all screws are tightened properly to prevent wobbling. For stability, follow the manufacturer’s instructions for weight limits and placement. Double-check the alignment to maintain the desk’s structural integrity. Once installed, test the shelves by gently applying pressure to ensure they are secure. Proper installation ensures the shelves are both functional and visually appealing, enhancing the overall usability of your L-shaped desk.
Adding the Drawers

Begin by attaching the drawer slides to the desk frame, ensuring they are evenly spaced and aligned with the pre-drilled holes. Next, place the drawers onto the slides, gently pushing them into position until they click securely. Use the provided screws to fasten the drawers to the slides, ensuring they are tightly secured. Test the drawers by opening and closing them to confirm smooth operation. If necessary, adjust the slides for proper alignment. Once installed, ensure the drawers close evenly and do not sag. Proper installation ensures the drawers function smoothly and provide ample storage space. Follow the manufacturer’s instructions for weight limits and maintenance to prolong the lifespan of the drawers.
Securing the Hardware
Securing the hardware is a critical step in ensuring the stability and durability of your L-shaped desk. Begin by tightening all screws and bolts firmly, starting from the bottom frame and working your way up. Use an Allen wrench or screwdriver as specified in the manual. Ensure all joints are tightly fastened to prevent wobbling. Pay special attention to the corners and connection points, as these bear the most weight. Double-check that all brackets, supports, and locking mechanisms are securely in place. If any screws feel loose, tighten them immediately. Properly securing the hardware ensures the desk remains sturdy and safe to use. Refer to the manual for specific torque requirements and avoid over-tightening, which could damage the material. Once all hardware is secured, test the desk by applying gentle pressure to ensure stability.
Final Tightening of All Parts
After assembling all components, perform a final tightening of all parts to ensure maximum stability and durability. Start by reviewing each connection point, such as bolts, screws, and brackets, to confirm they are properly aligned and fitted. Use the appropriate tools, like an Allen wrench or screwdriver, to tighten any loose connections. Pay particular attention to the desk’s frame, shelves, and drawers, as these areas are prone to movement. Double-check the manual for specific torque recommendations to avoid over-tightening, which could damage the material. Once all parts are securely fastened, gently rock the desk to ensure there is no wobbling or instability. This final step ensures your L-shaped desk is safe, sturdy, and ready for daily use.
Additional Features and Customization

L-shaped desks often include cable management systems, shelves, and drawers for enhanced functionality. Customization options like color, material, and size allow users to tailor the desk to their workspace needs.
Installing Cable Management Systems
Installing cable management systems is essential for maintaining a tidy and organized workspace. Begin by identifying cable grommets or pre-drilled holes in the desk. Route cables through these openings, securing them with cable ties or clips. For desks without built-in grommets, attach adhesive cable strips or trays to the underside or sides. Ensure all power cords, USB connections, and Ethernet cables are neatly bundled and fastened. This not only improves aesthetics but also reduces tripping hazards and prevents damage to cables. Refer to the assembly manual for specific installation points or optional accessories like cable organizers. Proper cable management enhances functionality and keeps your workspace clutter-free.
Adding Optional Accessories
Optional accessories can enhance the functionality and personalization of your L-shaped desk. Consider adding shelves, drawers, or keyboard trays to maximize storage and comfort. Install cable management systems to keep wires organized. For desks with pre-drilled holes, attach accessories like monitor arms or USB hubs. Refer to the assembly manual for specific installation guidance. Ensure all optional features align with the desk’s design and your workspace needs. Properly secure accessories to avoid instability. By adding these extras, you can create a more efficient and tailored workspace that meets your specific requirements. Always follow manufacturer instructions for accessory installation to maintain safety and warranty validity.
Customizing the Desk to Your Needs
Customizing your L-shaped desk allows you to tailor it to your specific workspace requirements. Position shelves or drawers in locations that enhance accessibility and organization. Consider adding cable management systems to keep your workspace tidy. Personalize the layout by adjusting the desk’s configuration to fit your room’s dimensions. For desks with adjustable features, fine-tune the height or angle to ensure ergonomic comfort. Optional accessories like monitor arms or keyboard trays can further enhance functionality. By customizing, you create a workspace that reflects your workflow and personal preferences, ensuring maximum efficiency and comfort. Always refer to the assembly manual for guidance on compatible modifications and accessories to maintain the desk’s stability and warranty.
Troubleshooting Common Issues
Identify and solve alignment problems by checking fittings and tightening screws. Address missing parts by verifying the package contents. Fix instability by ensuring all bolts are secure.
Identifying and Solving Alignment Problems
Alignment issues during assembly can lead to an unstable or uneven L-shaped desk. Start by inspecting the frame and desktop for proper fitting. If misaligned, loosen the screws slightly, adjust the components, and retighten. Ensure the desk is placed on a level surface to prevent wobbling. Refer to the manual for specific alignment instructions, as improper assembly can cause structural weakness. Double-check all fittings and accessories before final tightening. If problems persist, consider disassembling and reassembling the affected parts. Patience and attention to detail are key to achieving a sturdy and properly aligned desk.
Dealing with Missing or Damaged Parts
If you discover missing or damaged parts during assembly, stop immediately and inspect the packaging thoroughly. Refer to the parts list in the manual to identify the missing or damaged components. Contact the manufacturer or supplier promptly, providing details such as your order number and photos of the damaged items. Most companies offer replacement parts quickly to ensure assembly can proceed without delay. Avoid attempting to force or improvise with incorrect parts, as this may cause structural instability. If minor damage occurs during assembly, assess whether it affects functionality. For critical parts, wait for replacements to ensure safety and stability. Proper handling of missing or damaged parts is essential for a successful and secure assembly process.
Addressing Wobbling or Instability
If your L-shaped desk wobbles or feels unstable after assembly, check the floor for evenness and ensure all legs are firmly in contact. Tighten all bolts and screws, especially around the frame and joints, as loose connections are a common cause. If the issue persists, inspect the desk’s leveling feet and adjust them to compensate for uneven surfaces. For added stability, consider placing rubber pads under the legs to prevent slipping. If wobbling is severe, verify that all parts were assembled correctly and refer to the manual for specific tightening sequences. Addressing instability early ensures long-term durability and safety, preventing potential damage or accidents during use.
Maintenance and Care
Regularly clean the desk surface with a soft cloth and mild detergent to prevent scratches. Avoid harsh chemicals and abrasive materials that may damage the finish. Tighten any loose screws periodically to maintain stability and ensure all parts remain secure. For wooden surfaces, apply a furniture wax or polish to protect and enhance the appearance. Proper care extends the lifespan of your L-shaped desk, keeping it functional and visually appealing for years.
Cleaning and Protecting the Surface
Regular cleaning is essential to maintain the appearance and durability of your L-shaped desk. Use a soft, dry cloth to wipe down the surface daily, removing dust and debris. For tougher stains, dampen the cloth with water or a mild detergent, but avoid soaking the surface. Never use harsh chemicals, abrasive cleaners, or scrubbers, as they can damage the finish. For wooden surfaces, apply furniture wax or polish periodically to protect the material and maintain its shine. Avoid placing hot objects or liquids directly on the desk; use coasters or mats to prevent damage. Proper cleaning and protection will ensure your desk remains in excellent condition for years.

Regular Maintenance Tips
Regular maintenance ensures your L-shaped desk remains stable and functional. Inspect all parts periodically for signs of wear or loose connections. Tighten screws and bolts as needed to prevent wobbling. Check drawer slides and hinges for proper alignment and lubricate them if they feel stiff. Dust and dirt can accumulate in moving parts, so clean them gently with a soft brush or cloth. Avoid placing heavy objects beyond the desk’s weight capacity to prevent structural damage. Additionally, ensure the desk is placed on a level surface to maintain balance. By following these tips, you can extend the lifespan of your desk and keep it in optimal condition for years of reliable use.